The Art of Staining Pine: Achieving Your Perfect Finish
Finishing Touches for a Professional Look
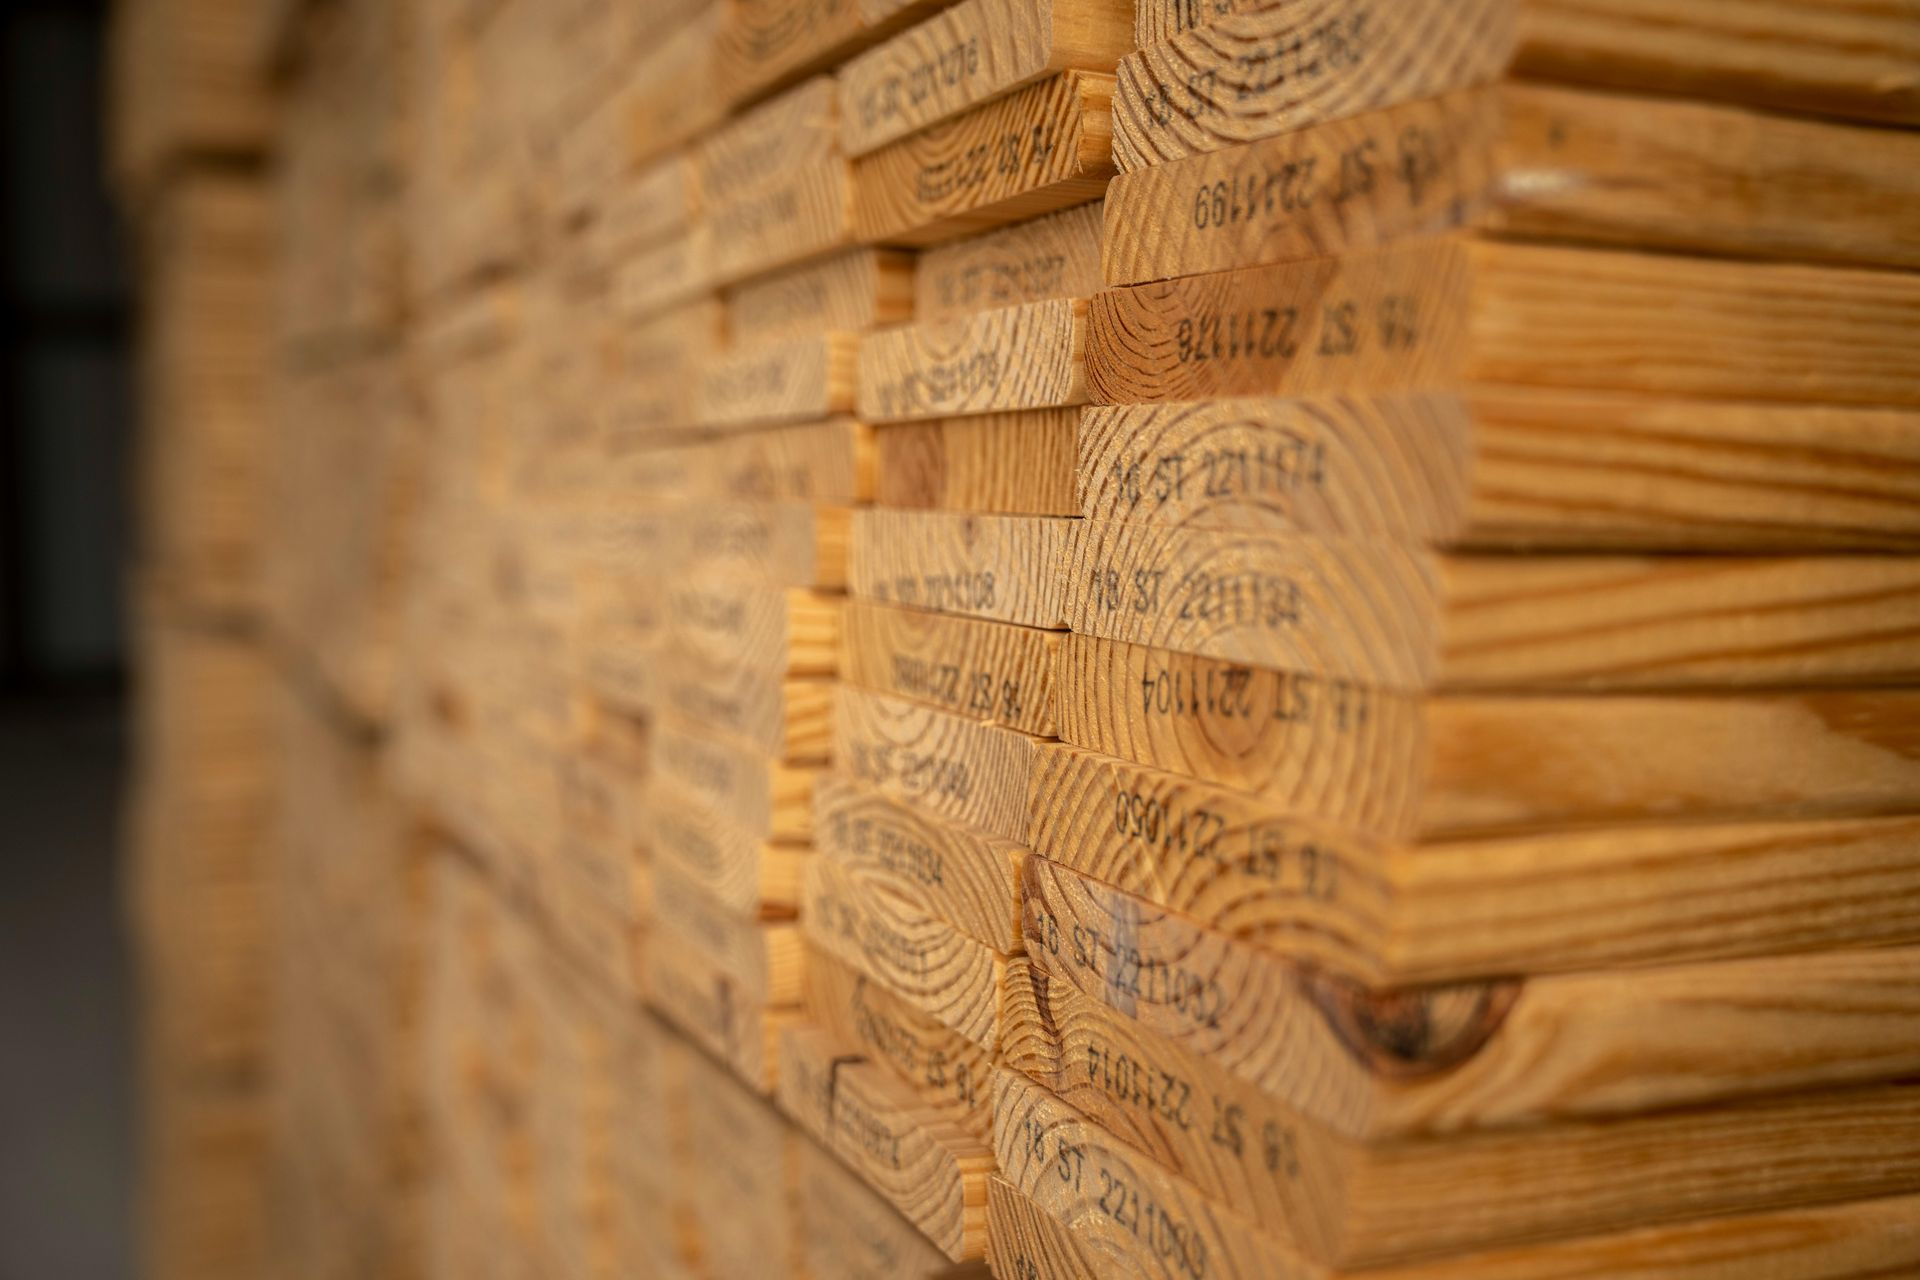
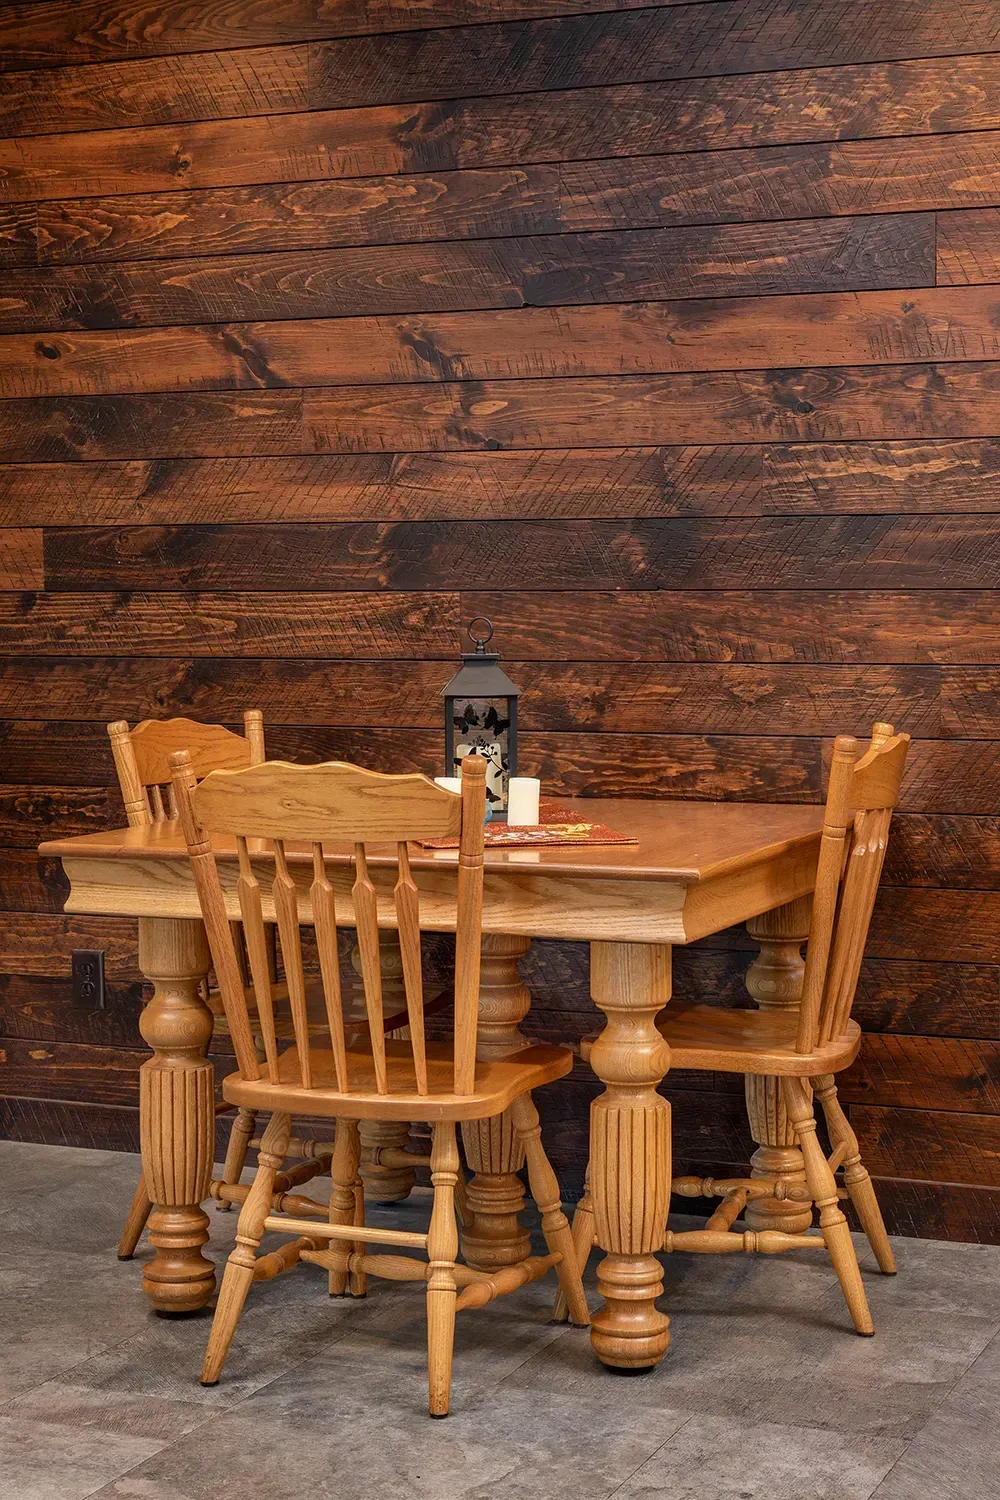
Pine has long been a favorite material for furniture, cabinetry, and interior projects. It’s known for its affordability, workability, and the light, warm tone that gives a space a welcoming feel. But if you’ve ever tried to stain a piece of pine, you’ve likely run into a common frustration: splotchiness. What starts as a simple project can quickly turn into a headache of uneven color and disappointing results.
The truth is, pine’s unique character is both its biggest strength and its biggest weakness when it comes to staining. But with the right knowledge and techniques, you can master the process and achieve a beautiful, professional-looking finish every single time. This guide will walk you through the art of staining pine, from understanding why it's tricky to the final steps that will make your project stand out.
Why Pine Can Be a Challenge to Stain
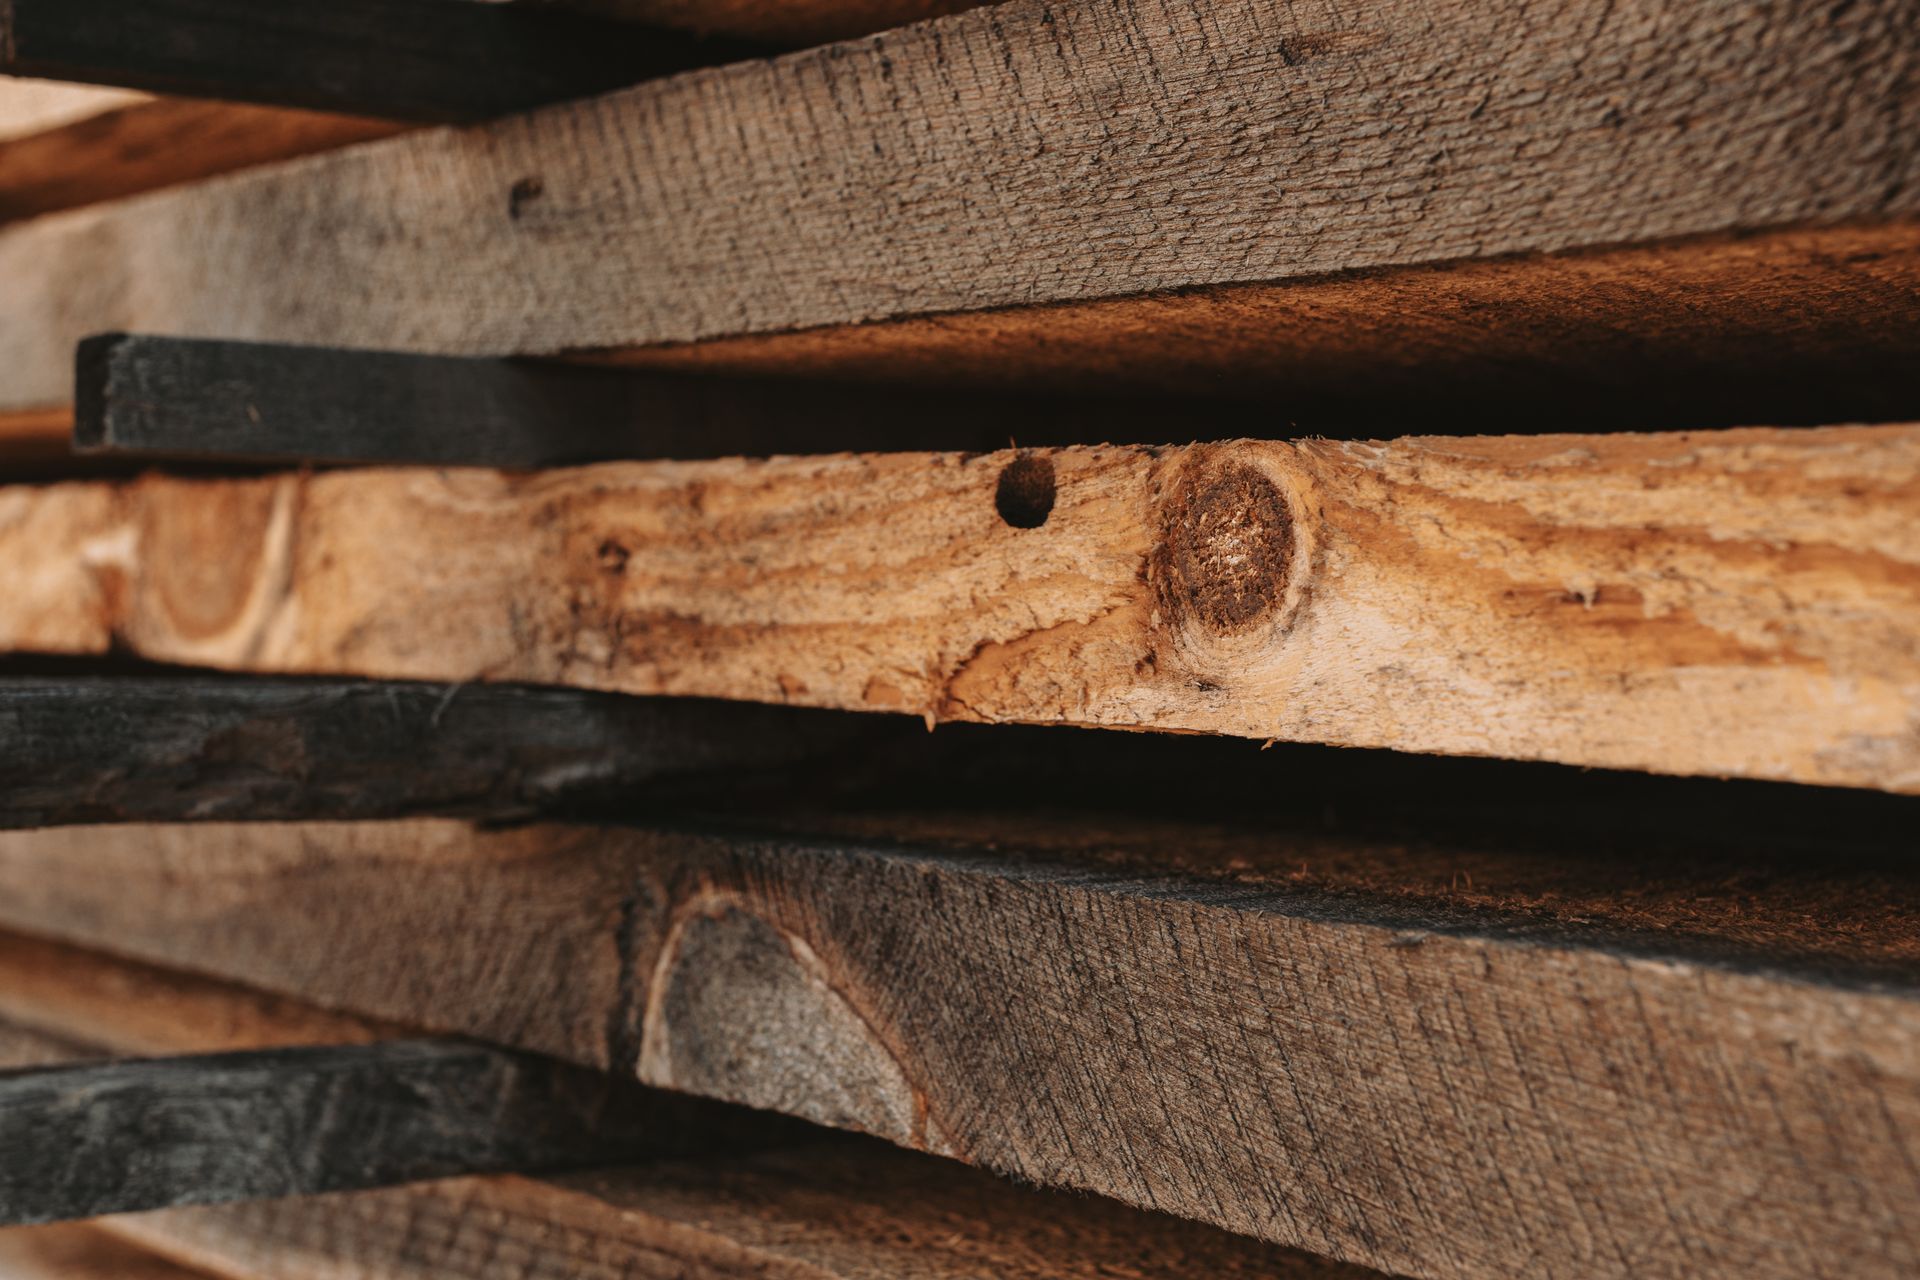
To understand how to stain pine, you first have to understand why it’s so difficult. Pine is a softwood with an uneven grain structure. It contains both “earlywood,” the porous, less dense part of the grain that grows in the spring, and “latewood,” the hard, dense part that grows in the summer. When you apply a stain, the porous earlywood soaks up the pigment like a sponge, while the dense latewood resists it. This uneven absorption is what causes the splotchy, dark-and-light-striped appearance that so many people struggle with.
The key to preventing this is to control how the wood absorbs the stain. And for that, there is one absolutely essential tool.
The Non-Negotiable Step: The Power of Wood Conditioner
If you take only one piece of advice from this entire guide, let it be this: always use a pre-stain wood conditioner on pine. Wood conditioner is a product that helps to even out the wood’s porosity, so both the earlywood and latewood soak up the stain at a more consistent rate. It acts like a primer for your stain, ensuring a smoother, more uniform color.
Applying wood conditioner is a simple process:
- Prep the wood: First, make sure your wood is properly sanded and free of any dust.
- Apply the conditioner: Use a brush or a rag to apply a generous, even coat of wood conditioner over the entire surface.
- Wait: Follow the manufacturer’s instructions, but you typically need to let the conditioner soak in for about 15-30 minutes before you apply your stain. Don’t let it fully dry, as it needs to still be active when the stain goes on.
This simple step alone will dramatically improve your results and is the secret to a flawless finish.
Choosing the Right Stain for Pine
Once your wood is prepped, you need to select the right stain. While many stains will work, some are better suited for pine than others.
- Oil-Based Stains: These are the most traditional option and are known for their rich, deep colors. They penetrate the wood fibers and tend to be very durable. When using oil-based stain on pine, a wood conditioner is a must.
- Water-Based Stains: These stains dry much faster than oil-based stains, which can be an advantage for quick projects. They produce a cleaner, more vibrant color and are easier to clean up.
- Gel Stains: Gel stains are thicker than other stains and sit more on the surface of the wood. This makes them a great choice for pine because they don’t soak in as much, which naturally reduces splotchiness. While a conditioner is still a good idea, a gel stain can be more forgiving.
No matter which type of stain you choose, always buy a small can or a test piece of wood to test your color choice before applying it to your main project.
The Staining Process: A Step-by-Step Guide
Here is a full breakdown of the process to get that perfect finish:
- Sanding is Key: Start with sanding. For pine, begin with a medium-grit sandpaper (around 120) to smooth the surface, then finish with a fine-grit sandpaper (around 180-220) to prepare it for the stain. Always sand with the grain of the wood. After sanding, use a tack cloth to remove every last bit of dust.
- Conditioning: As mentioned, apply your wood conditioner and let it sit for the recommended time.
- Applying the Stain: Use a brush or a lint-free cloth to apply the stain. Work in small sections, applying the stain evenly with the grain. Let the stain sit for a few minutes (the longer it sits, the darker the color will be), then use a clean, dry cloth to wipe off the excess.
- Drying Time: Let the first coat dry completely. This can take several hours depending on the type of stain and your local climate.
- Second Coat (Optional): If you want a darker color, you can apply a second coat of stain, following the same process as the first.
The Final Touch: Protective Top Coats
Once you've achieved the perfect color, you need to protect it with a top coat. This will seal the stain and protect the wood from scratches, moisture, and wear.
- Polyurethane: A durable and popular choice for a clear finish. It comes in both oil-based and water-based formulas and a variety of sheens (matte, satin, gloss).
- Lacquer: Dries very quickly and provides a hard, durable finish.
- Wax or Oil: A natural-looking finish that protects the wood while leaving a soft, natural feel.
Choosing the right top coat is just as important as choosing the right stain.
Your Perfect Pine Project Starts Here
Mastering the art of staining pine is a skill that will serve you well for years to come. By understanding the wood and using the right techniques, you can transform any pine piece into a beautiful, lasting work of art.
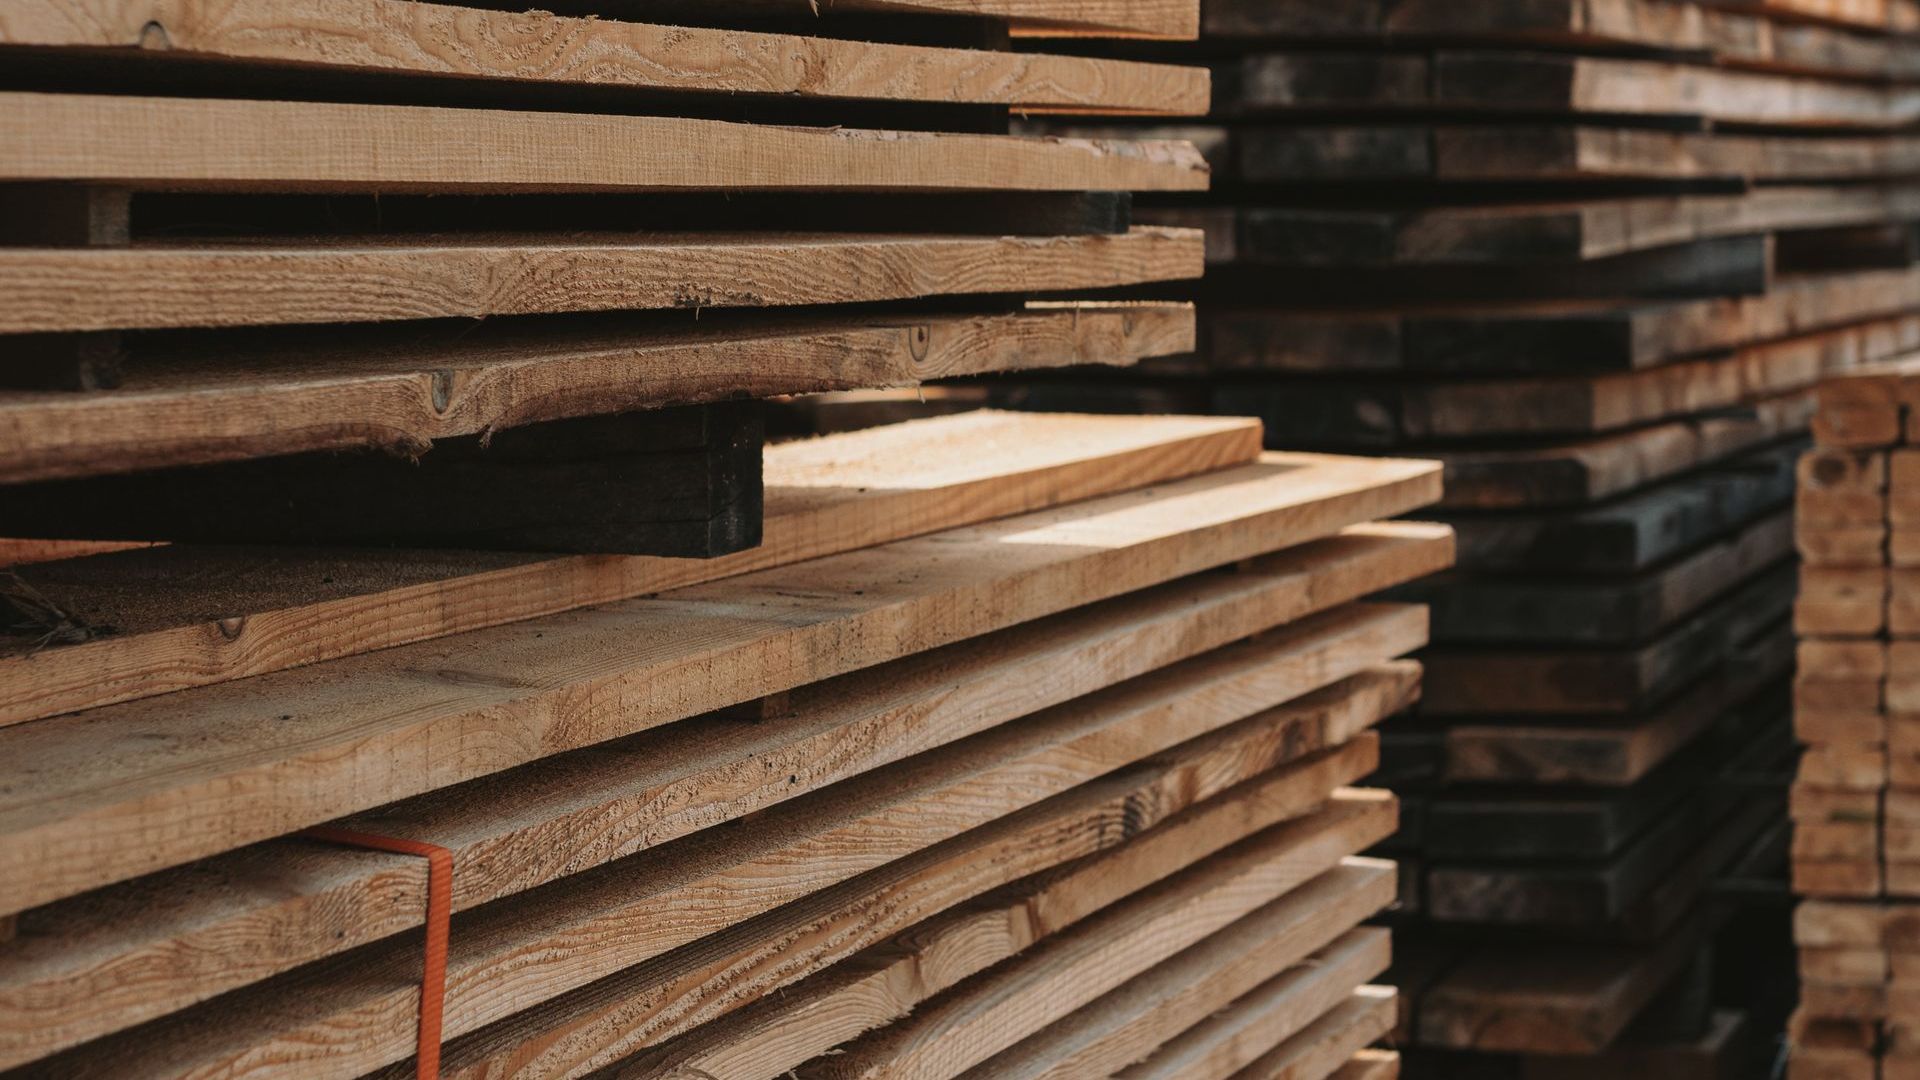
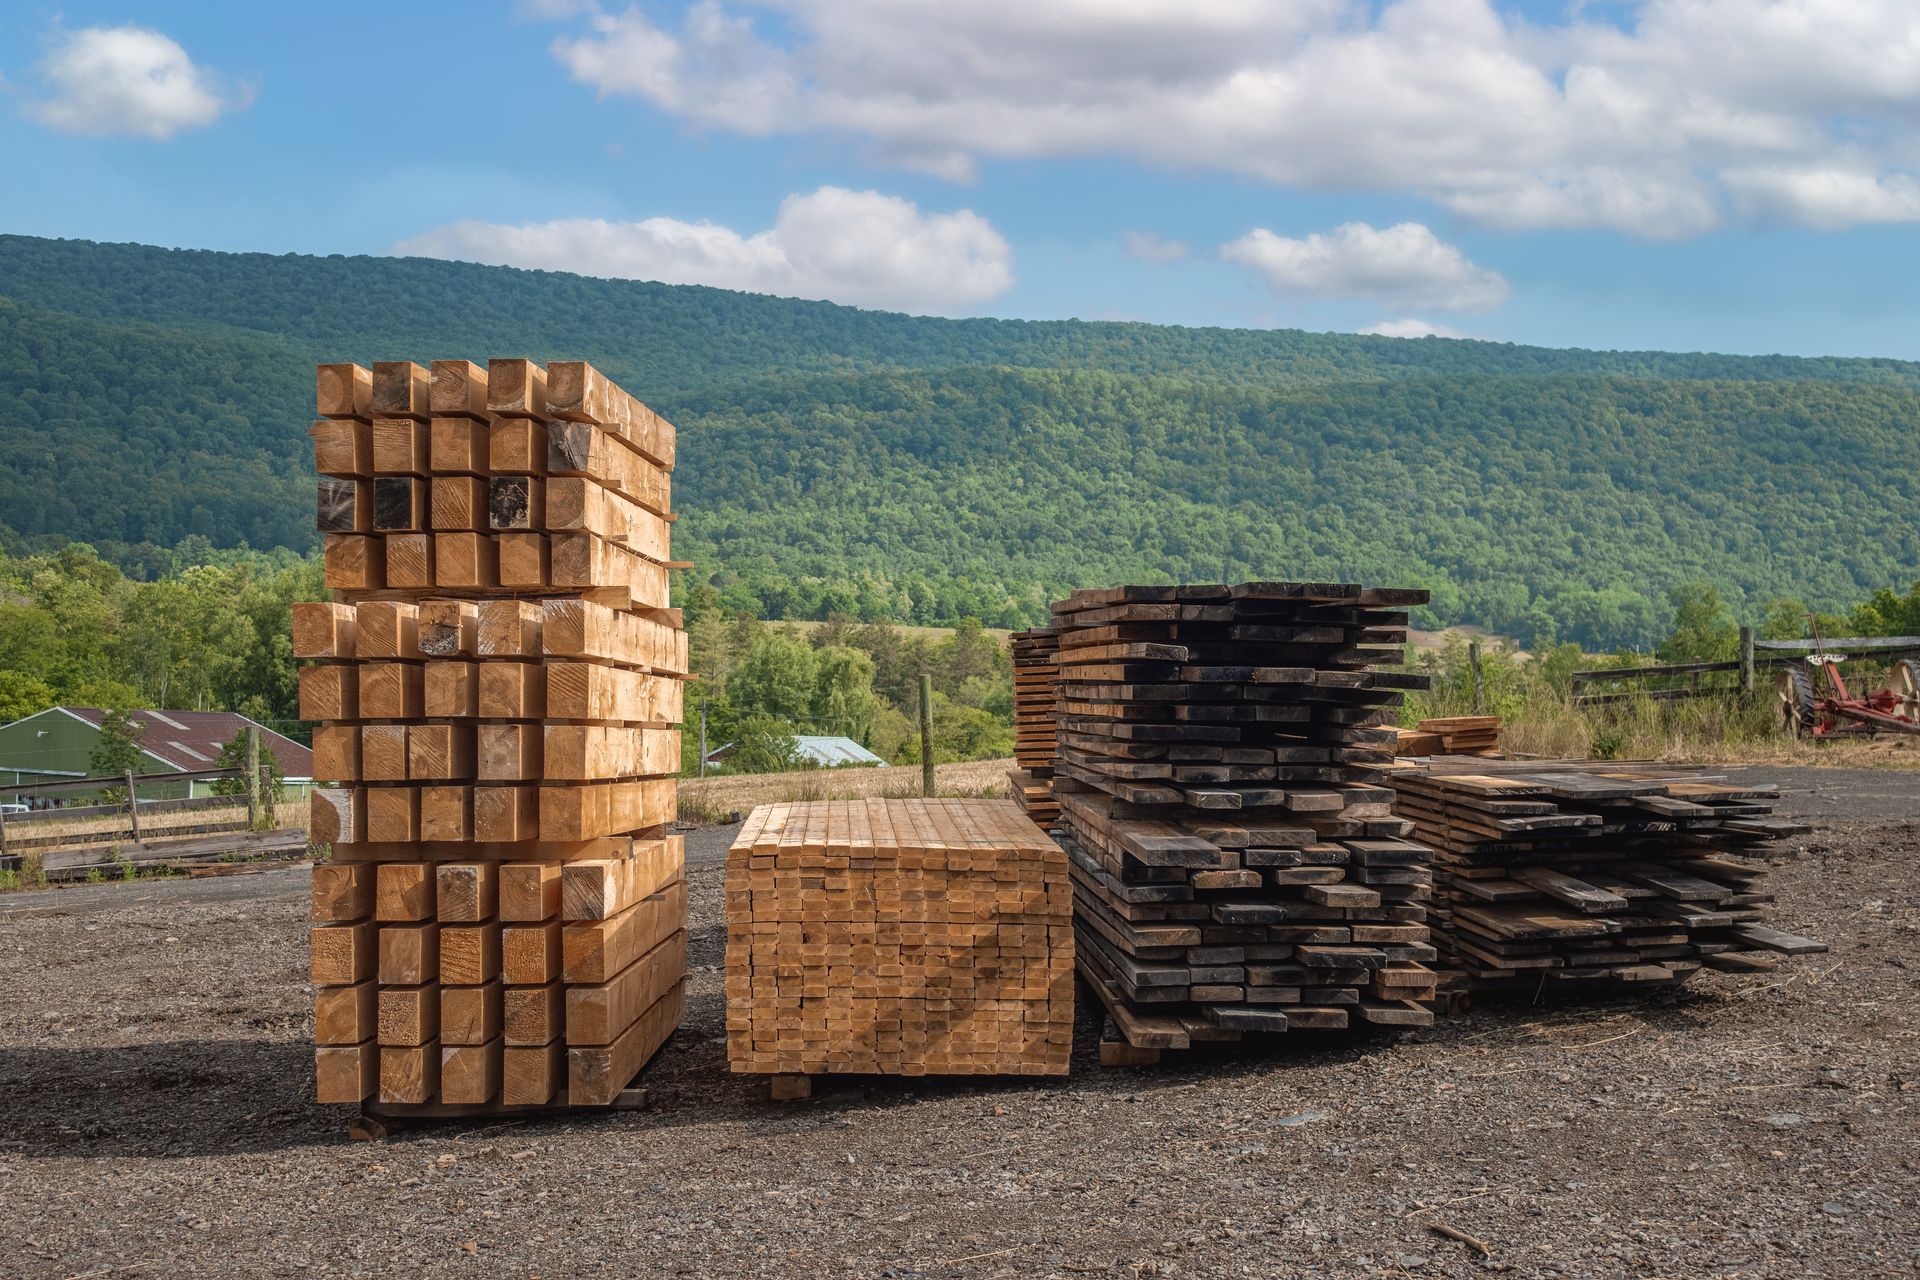
If you’re ready to start your next project, Rustic Door and Pine is your local source for the highest quality kiln-dried pine lumber. We serve homeowners and DIY enthusiasts in Mill Hall, Spring Mills, Boalsburg, Bellefonte, State College, Harrisburg, and Centre Hall. Our quality wood makes the entire process easier, ensuring a smooth, beautiful finish. Come visit us or contact us today to find the perfect lumber for your next masterpiece.
Order Now
Rustic Door & Pine is your source for exceptionally high quality lumber, doors, kindling and Etchwood products. Shop online or contact our team to place an order.